The first step in how to make pressed flower wall art is choosing the right specimens. Not all flowers are created equal when it comes to drying.
Flat-Faced Favorites: Pansies, violas, and daisies are ideal because of their naturally flat shape.
Thin Petals: Larkspur, cosmos, and poppies dry quickly and retain vibrant colors.
Foliage and Fillers: Ferns, baby’s breath, and eucalyptus add essential texture and a “wild” aesthetic to your composition.
Pro Tip: Avoid succulents or very thick flowers like lilies, as their high moisture content often leads to mold during the pressing process.
Professional Pressing Techniques
Mastering how to make pressed flower wall art requires patience. There are three primary ways to dry your florals:
The Traditional Book Method: Place flowers between sheets of parchment paper inside a heavy book. Stack more books on top and wait 2–4 weeks.
The Wooden Flower Press: This is the gold standard for 2026. Using bolts to apply even, high-pressure results in flatter, more professional-looking petals.
Microwave Pressing: If you are short on time, specialized microwave presses can dry thin flowers in just a few minutes, though traditional drying usually preserves colors better.
Preventing Fading and Discoloration
A common challenge when learning how to make pressed flower wall art is maintaining the flower’s original hue. To prevent fading:
Harvesting Time: Pick flowers on a dry morning after the dew has evaporated but before the sun is at its peak.
Absorbent Materials: Always use acid-free blotting paper or unglazed newsprint. These materials draw moisture away quickly, locking in the pigment.
Avoid Sunlight: During the drying phase, keep your press in a cool, dark, and dry area.
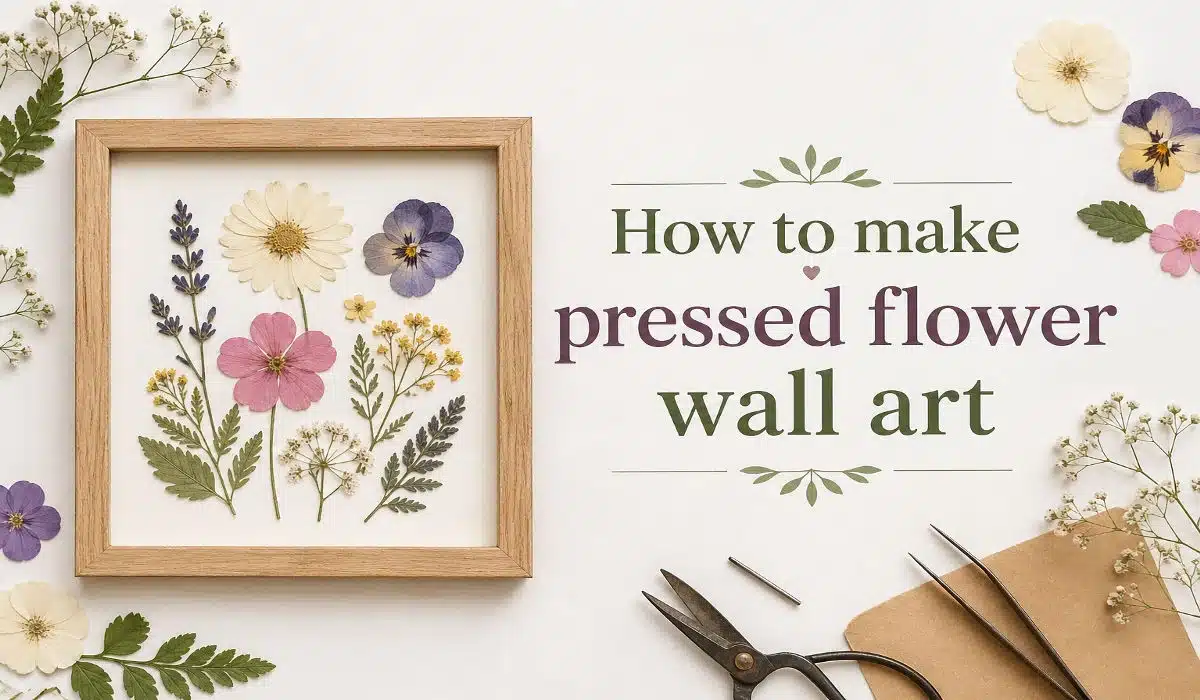
Designing Your Botanical Composition
Once your flowers are “paper-thin” and completely dry, it’s time for the creative part of how to make pressed flower wall art.
Minimalist Approach: Place a single, perfect stem in the center for a modern, clean look.
The Wildflower Meadow: Layer different heights and textures to mimic a natural garden.
The “Floating” Effect: Use two panes of glass (a floating frame) to make the flowers look like they are suspended in mid-air.
Pro Tip: Use fine-tipped tweezers to handle the dried specimens, as they become extremely fragile once the moisture is removed.
Mounting and Adhering the Florals
To ensure your art lasts for years, use the right adhesive. When figuring out how to make pressed flower wall art, beginners often use too much glue.
- Less is More: Use a toothpick or a small brush to apply tiny dots of acid-free PVA glue or clear-drying craft glue to the sturdiest parts of the flower (the center or the stem).
- Acid-Free Paper: If you aren’t using a floating frame, mount your flowers on high-quality, acid-free cardstock or watercolor paper to prevent yellowing over time.
Framing and Long-Term Care
The final stage of how to make pressed flower wall art is sealing your work.
- UV-Protection Glass: If your budget allows, choose a frame with UV-filtering glass. This is the only way to truly protect your art from the fading effects of indoor light.
- Placement: Never hang your pressed flower art in a bathroom or near a kitchen stove, as humidity can cause the organic material to re-absorb moisture and deteriorate.
- Sealing: Some artists apply a very thin layer of UV-resistant spray fixative before framing for an extra layer of protection.
Using Desiccant Sheets for “Juicy” Flowers
When learning how to make pressed flower wall art with thicker blooms like orchids or small roses, traditional paper might not be enough. In 2026, many artists use silica-infused desiccant sheets. These reusable sheets pull moisture out at an accelerated rate compared to cardboard. This rapid dehydration is the secret to keeping “difficult” colors, like deep reds and purples, from turning black or brown during the pressing phase.
The Art of “Deconstructed” Reassembly
Sometimes, a flower is too bulky to press as a whole but is essential for your made pressed flower wall art. Professional botanical artists use a technique called deconstruction. You carefully pull the petals off a thick flower (like a Ranunculus), press them individually, and then use acid-free glue to layer them back together on your backing paper. This creates a 3D illusion of a full flower while keeping the profile thin enough to fit behind glass.
Incorporating Mixed Media and Calligraphy
In 2026, the trend for how to make pressed flower wall art has moved beyond just flowers. To add a “curated” look, many creators are incorporating minimalist line art or hand-lettered calligraphy. You can write the scientific name of the plant (the Latin binomial), the date it was picked, or a meaningful quote in the corner of the frame. This transforms a simple craft into a professional herbarium-style specimen that feels like a piece of history.
Creating Depth with “Floating” Shadow Boxes
If you prefer a more dramatic look, you can adapt your knowledge of how to make pressed flower wall art for shadow box frames. Instead of pressing the flowers until they are completely flat, you can “semi-dry” them in silica gel so they retain their 3D shape. Then, use a tiny amount of hot glue or wire to secure them inside a deep frame. This creates a stunning “living wall” effect that adds incredible texture to your room.
The Hairspray vs. UV Spray Debate
To truly master how to make pressed flower wall art, you must protect the organic matter from oxygen. While old-school “hairy-style” tips suggested using hairspray, modern experts in 2026 strictly advise against it, as it can yellow the petals. Instead, apply a light mist of a professional-grade UV-resistant acrylic sealer. This “seals” the flower in a micro-thin plastic coat, preventing oxygen from reaching the pigments and significantly slowing down the natural oxidation process.
FAQ
Q1: How long does pressed flower art last?
Ans: If kept away from direct sunlight and humidity, professionally made pressed flower wall art can last for decades, though some natural color shifting is normal over time.
Q2: Can I press a whole wedding bouquet?
Ans: Yes! However, large roses or peonies should be deconstructed into individual petals before pressing, then reassembled on the paper to recreate the look of the full bloom.
Q3: Why did my flowers turn brown?
Ans: This usually happens if the flowers were too wet when put into the press or if the drying process was too slow. Ensure you use fresh, dry blotting paper every few days if the flowers are thick.
read more: Explosive La Liga Clash Decided 2026
Explosive HHS Shakeups Ignite Debate 2026

Mr. Udoy is a professional Web Developer and Blogger with 7+ years of experience in the tech world. He specializes in web architecture and digital storytelling. As the driving force behind worldincidents.com, he focuses on delivering high-quality, well-researched content to a global audience.